
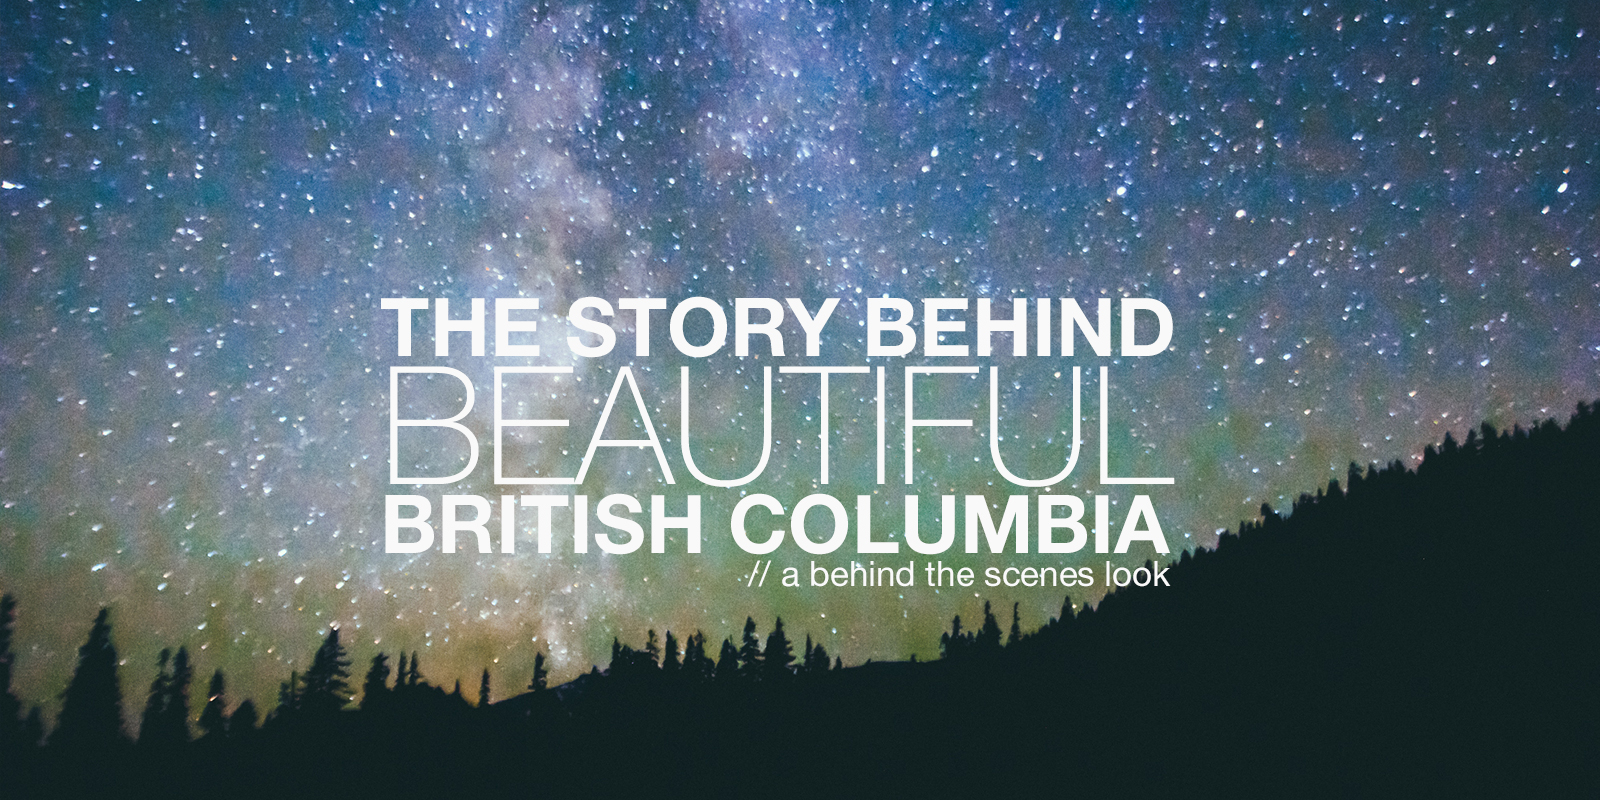
British Columbia is my favourite place on earth. There is something about the amazing combination of beautiful snow capped mountains, unreal coastal landscapes, and acres of lush forest that leave me in awe through every adventure in the BC mountains.

Four years ago I started shooting a project that to this day remains one of my absolute favourites. I want to share about that film today, from beginning to end and everything in between.
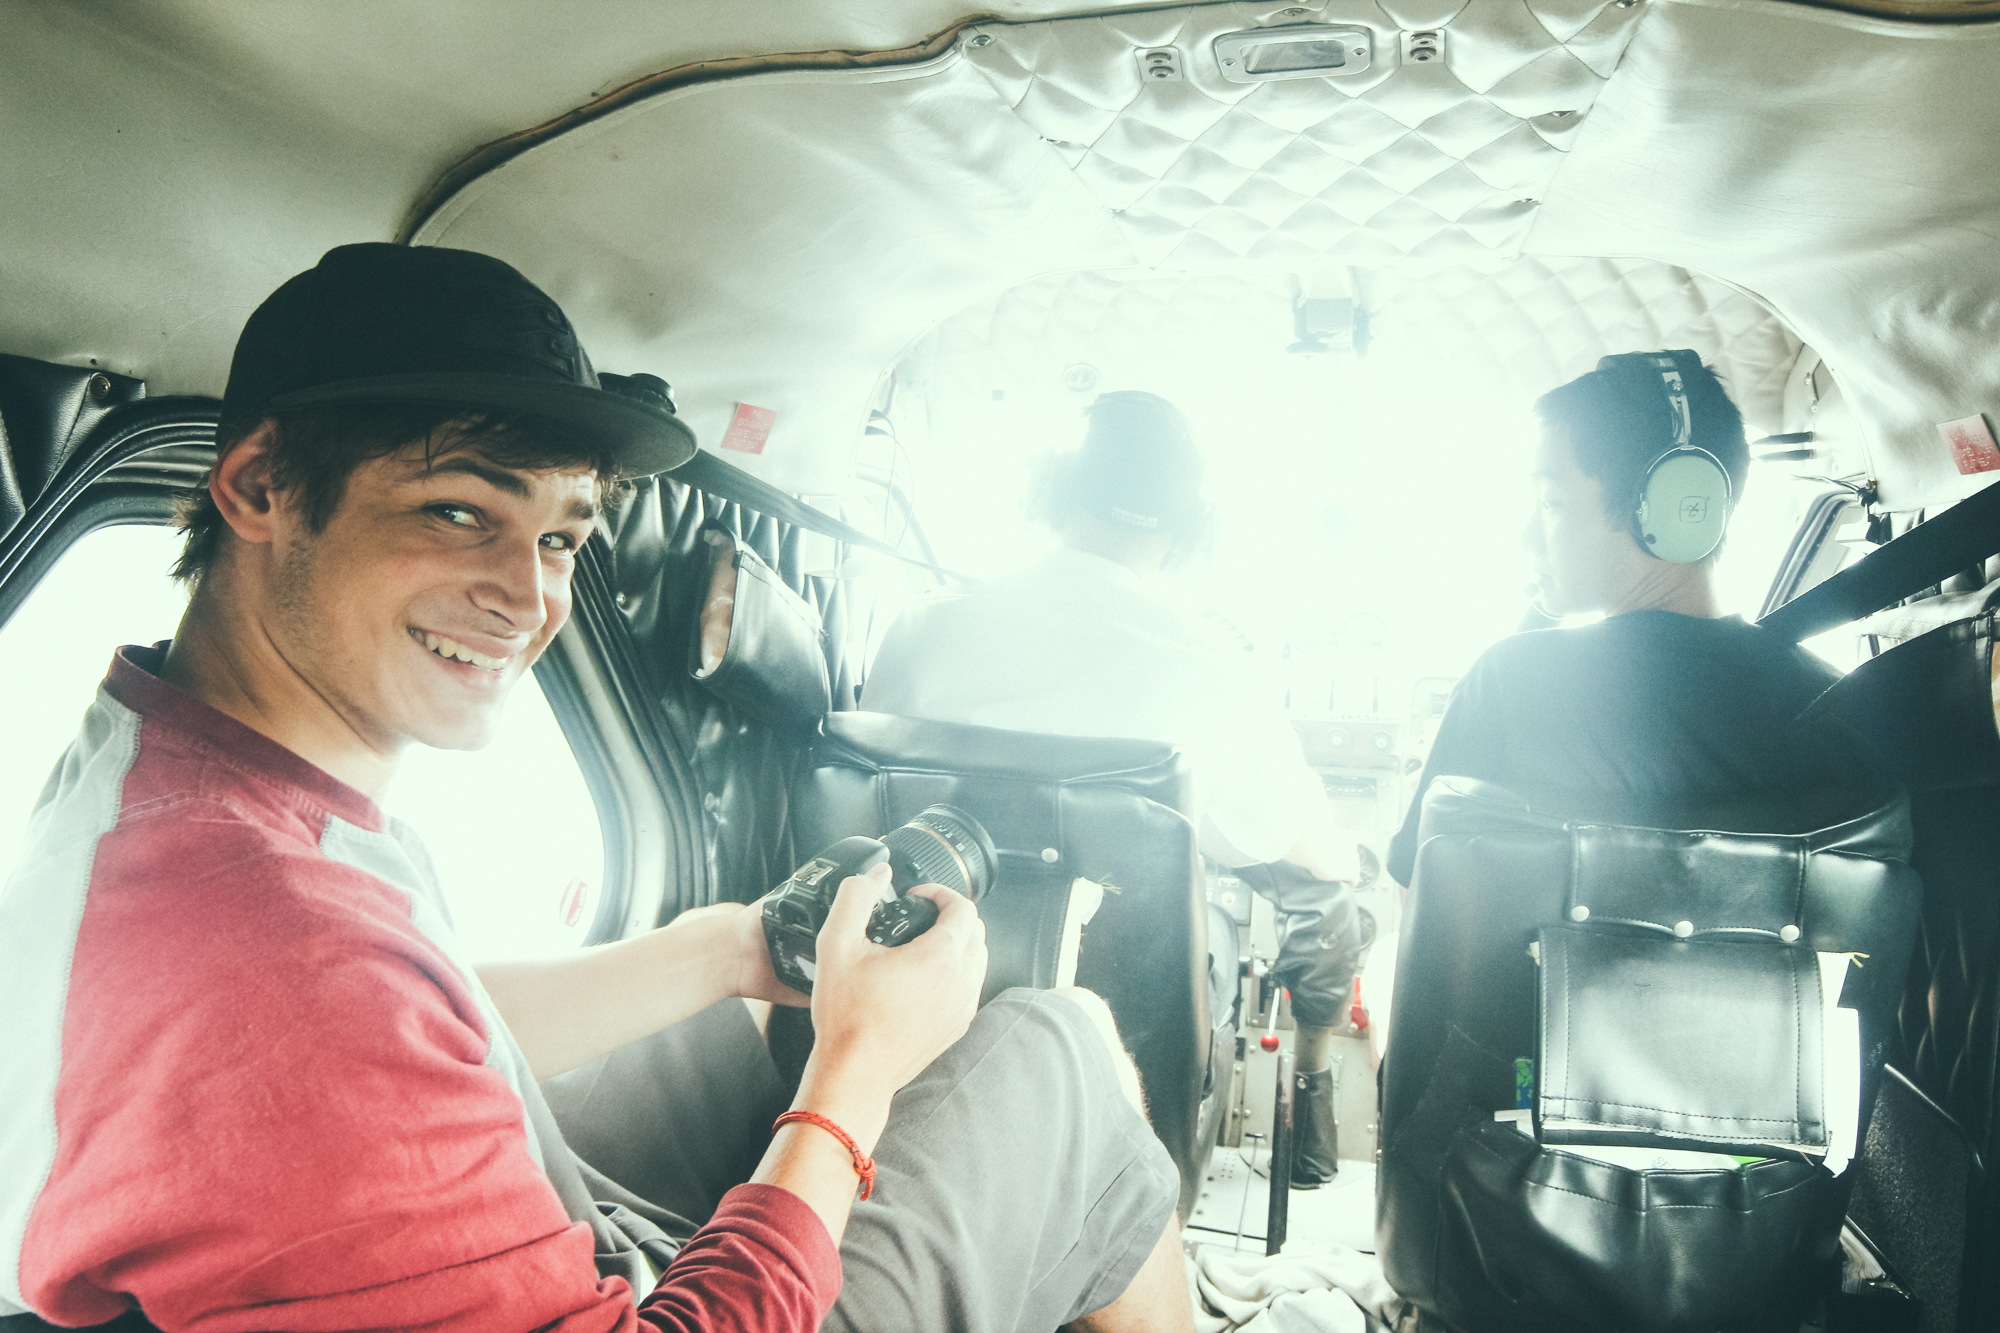
This project was monumental for me as a growing filmmaker. I realized that it was okay to be an aspiring storyteller and have some of my best work come later. That was the best realization I have ever had, it gave me the freedom to create from where my skills were at, knowing that my work will continue to improve as I create lots of stuff.

I will never forget starting to take those first few timelapses.
- “Do I set the interval to 2 seconds or 5 seconds?
- How many pictures do I actually need to make it look good?
- Where do I point the camera?
- What will this look like sped up?”
These and more, were all questions I had in my head as I began the adventure of shooting my first timelapses. I had no idea what I was doing, and that was the best part. Complete permission to just have fun and create stuff in response the the place I call my home.
I will never forget that morning after taking my first timelapses of the stars. I picked up my camera from its tripod like a nervous yet excited child, hit the preview button and began to flip through some pictures. Needless to say the level of stoke was incredibly high. I stared at frame after fame of the milky way galaxy slowly climbing over the northern western mountains, I captured it completely on accident, but I completely loved it. I had taped a rock to the cameras trigger as a make shift intravelometer and had just pointed it in a direction and hoped for the best.

THE GEAR
My setup for shooting this film was pretty simple. I had a sketch tripod and I was off to the races.
• Modified Flycam Nano ( I extended the middle column so it could hold more weight • Canon t2i (still an excellent very useable camera) • Rokinon 35mm f1.4 lens (one of my favourite lenses) • Borrowed sigma 10–20mm (I wouldn't recommend purchasing this, I've upgraded to the tokina 11-16) • Manfrotto Monopod (MVM500A) (absolute favourite tool for run and gun shooting)
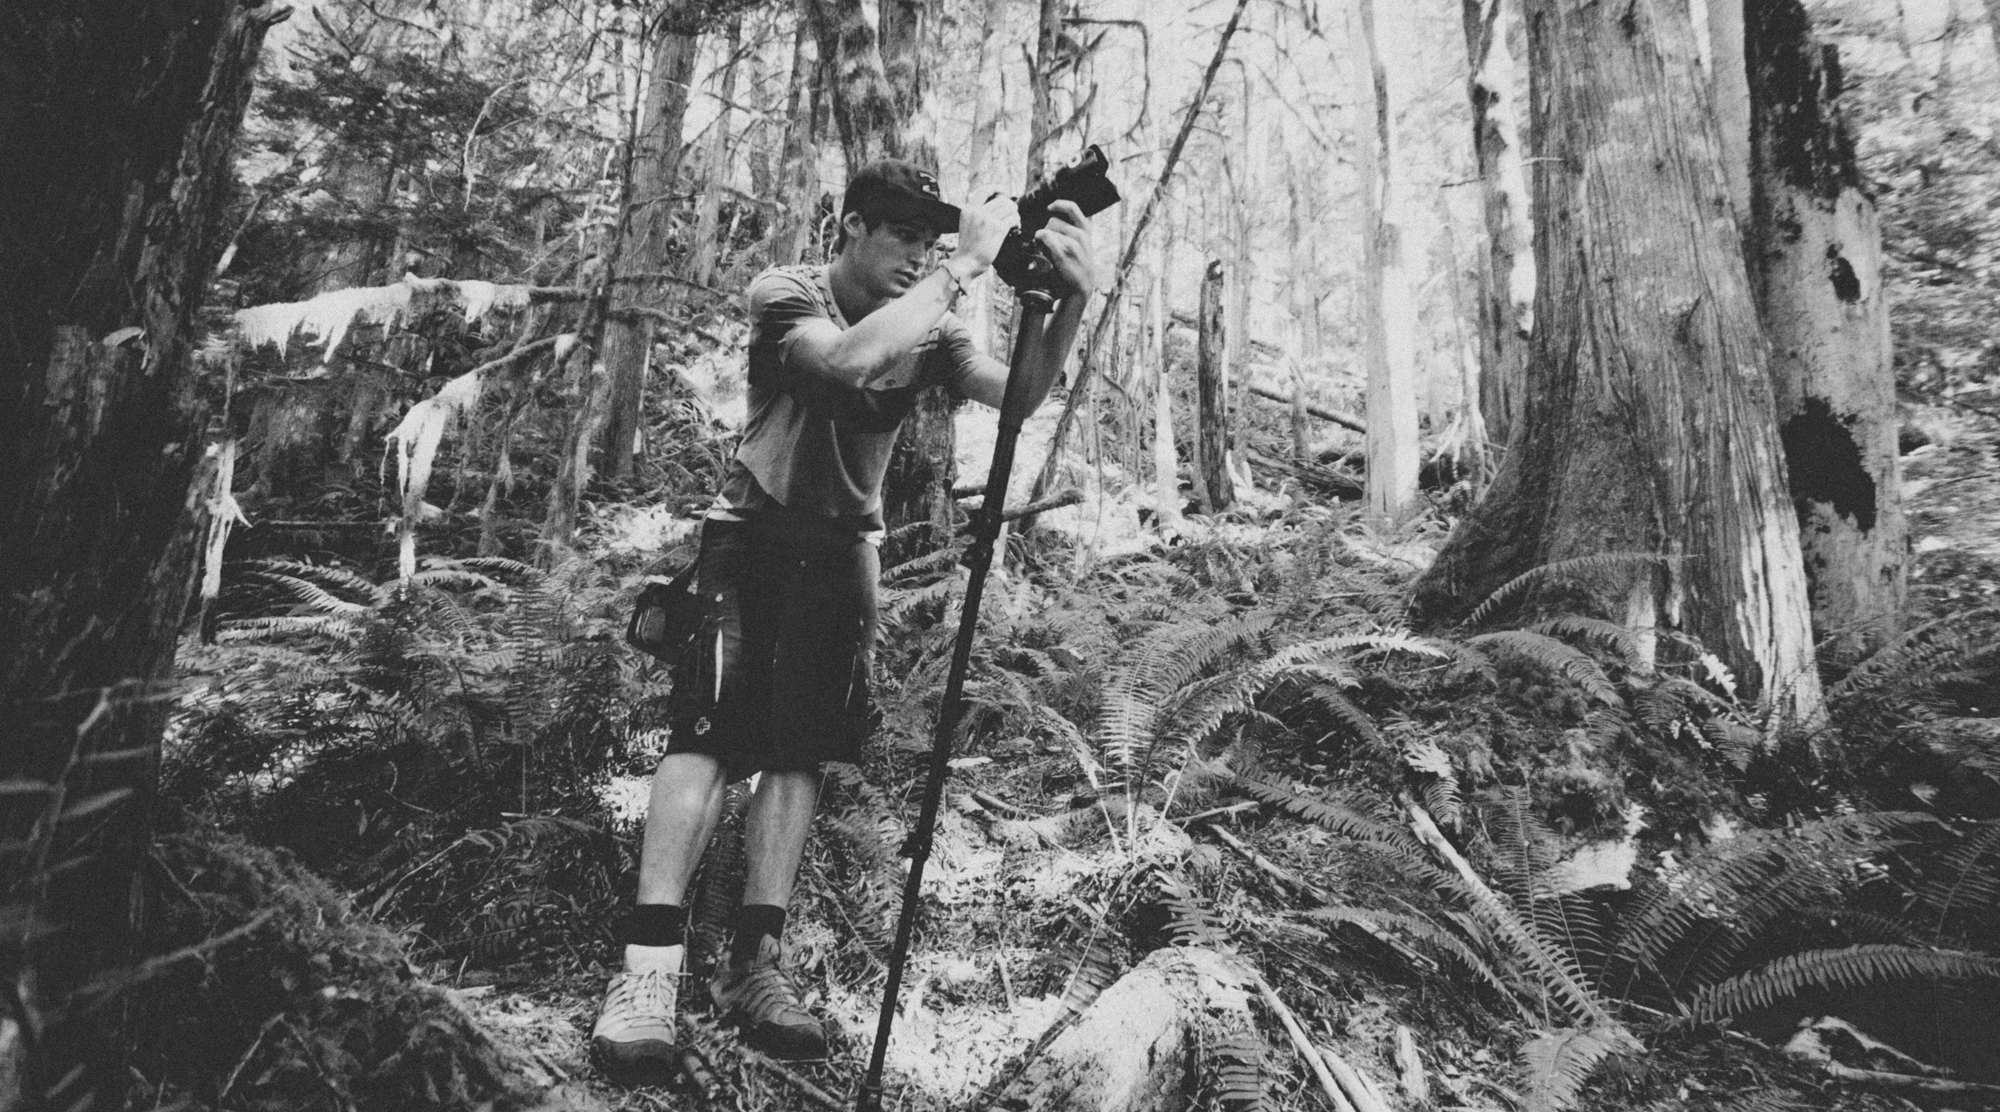
MY FAVOURITE TOOL
I experimented a lot on this piece and I wanted to try create something that was visually pleasing and inspiring. The mono pod proved to be one of my greatest assets. I used it constantly on this film. I would step on it with one foot and slowly move the camera forward. This was great for getting simulated slider shots, throw a little warp stabilizer on, and you are good to go.
Manfrotto MVM500A Aluminum Fluid Monopod with 500 Head (Black)
WHERE IS THE STORY?
This is probably the most fundamental challenge I ran into with this project. Where is the story? I got into filmmaking because I loved those films that really tug at your heart, those films that show you a different way to look at life. I didn’t feel like what I was creating was doing either of those things. It felt like I was just putting together a really beautiful slide show, it felt like it was missing something huge.
I knew this piece wouldn’t be raved about and shared widely
Thats because it was, and still is missing something huge. Regardless I went forward with finishing the project even without a story. I was not going to be able to invent a story for it afterwards, I had missed it while making it. I toyed with the idea of doing a voice over with some inspirational monologue, but I quickly tossed out that idea. I wanted to get it out there and to the world, but I learned a valuable lesson of story and filmmaking with this project. I knew this piece wouldn’t be raved about and shared widely because it lacked that simple but powerful component of what makes something worth watching, the story.

POST PRODUCTION
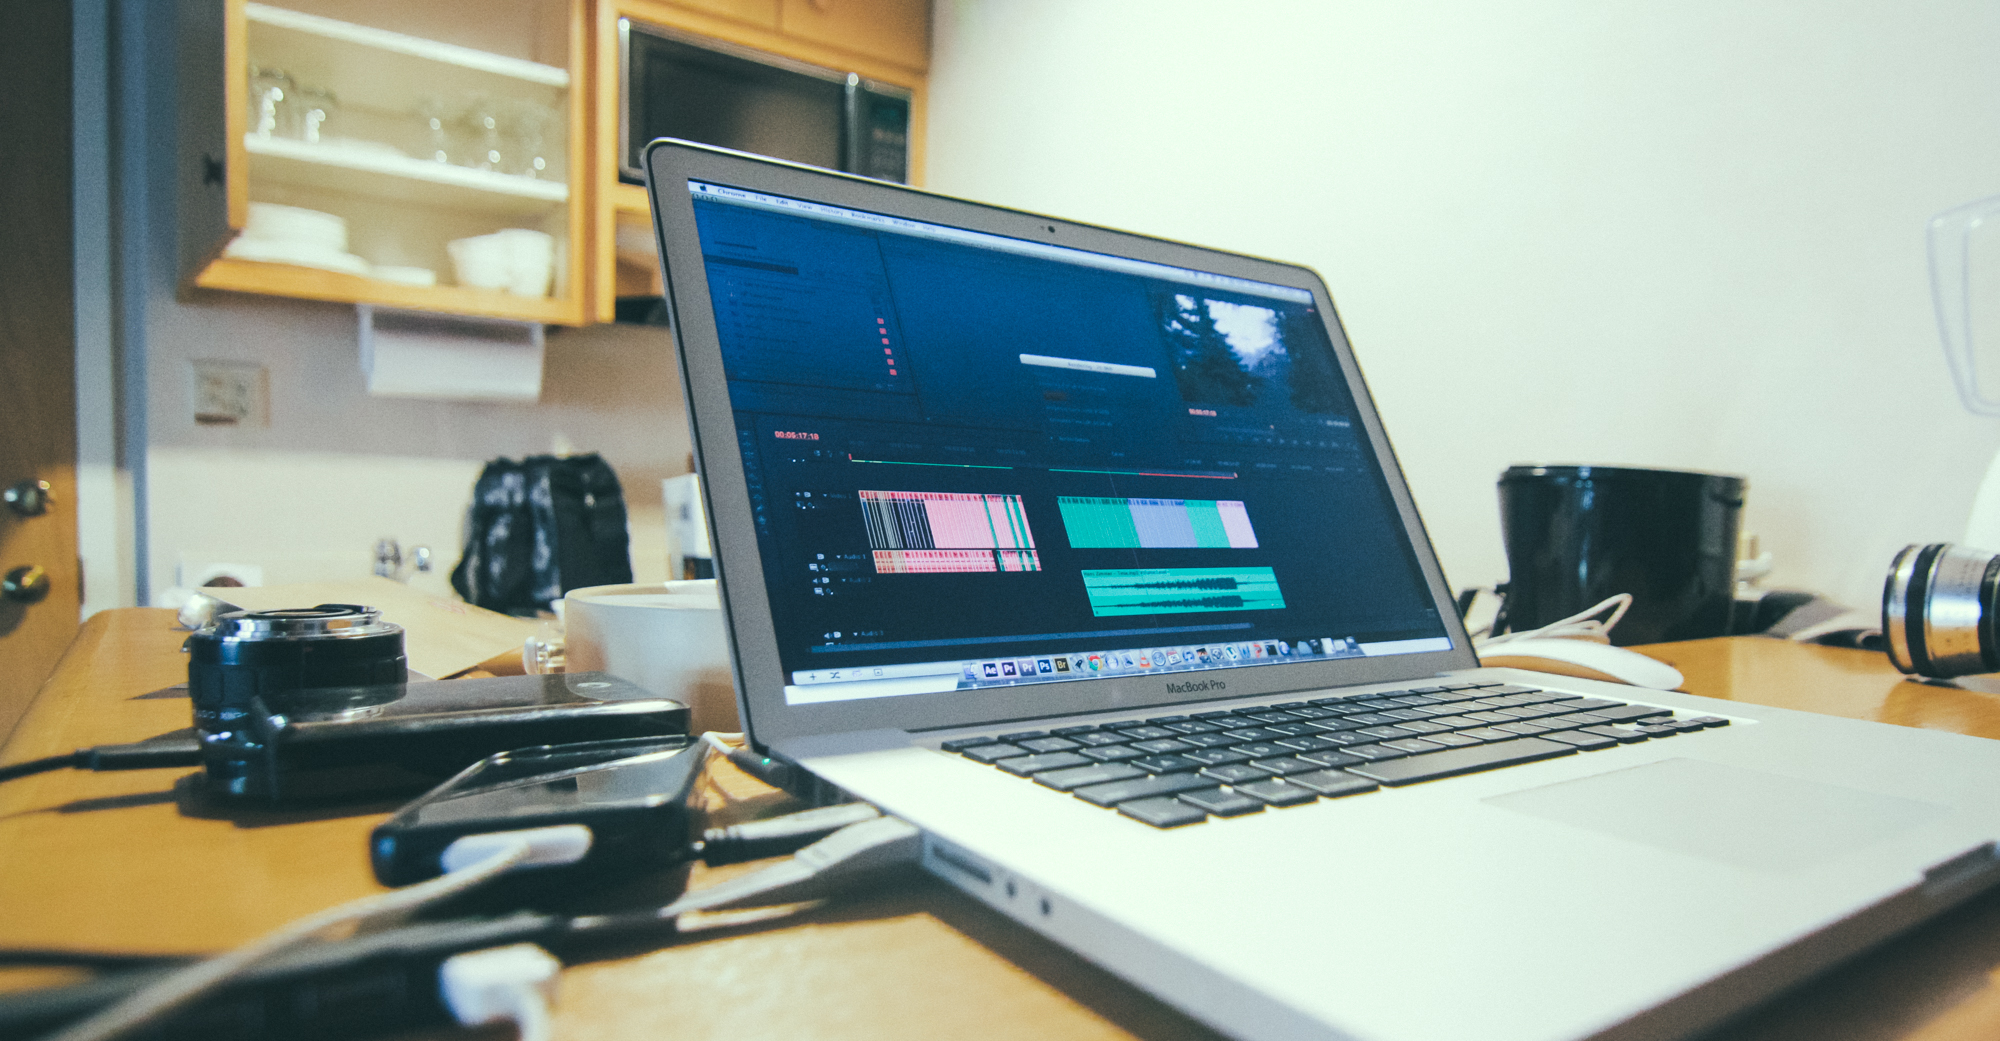
During post production I learned so much. This was definitely one of the most extensive productions I had done so far and every stage of the post had complications. Though with the help of google, and lots of trial and error I managed to pull the film together. I spent over 100 hours editing this project in total and took more than 100,000 stills.
I edited this film on my mid 2012 Mac Book Pro, it only has 8gb of memory, but the i7 intel chip handles things fairly well and is still my main editing machine.
- Premiere Pro
- Adobe After Affects
- Lightroom
- LrTimelapse
LRTimelapse
For the first months of editing I really struggled with getting the look I desired from my timelapses. After some research I discovered the countless timelapse artists were using a tool created to work alongside Lightroom called LRTimelapse. This was a breakthrough for me. Sure, I had to learn a new workflow and piece of software, but this tool really unlocked some editing potential that I really needed to bring my timelapses to life. It had the tools to get rid of the flicker that I so desperately hated.
From now on, all timelapses in RAW
I learned that from now on I wanted to shoot all my timelapse sequences in RAW format. I shot most of the timelapses in this film with jpeg sequences and that really caused my post production to suffer. I couldn’t rescue the shadows as much and white balance was a real challenge at times.
Growing your skills takes 100’s of hours.
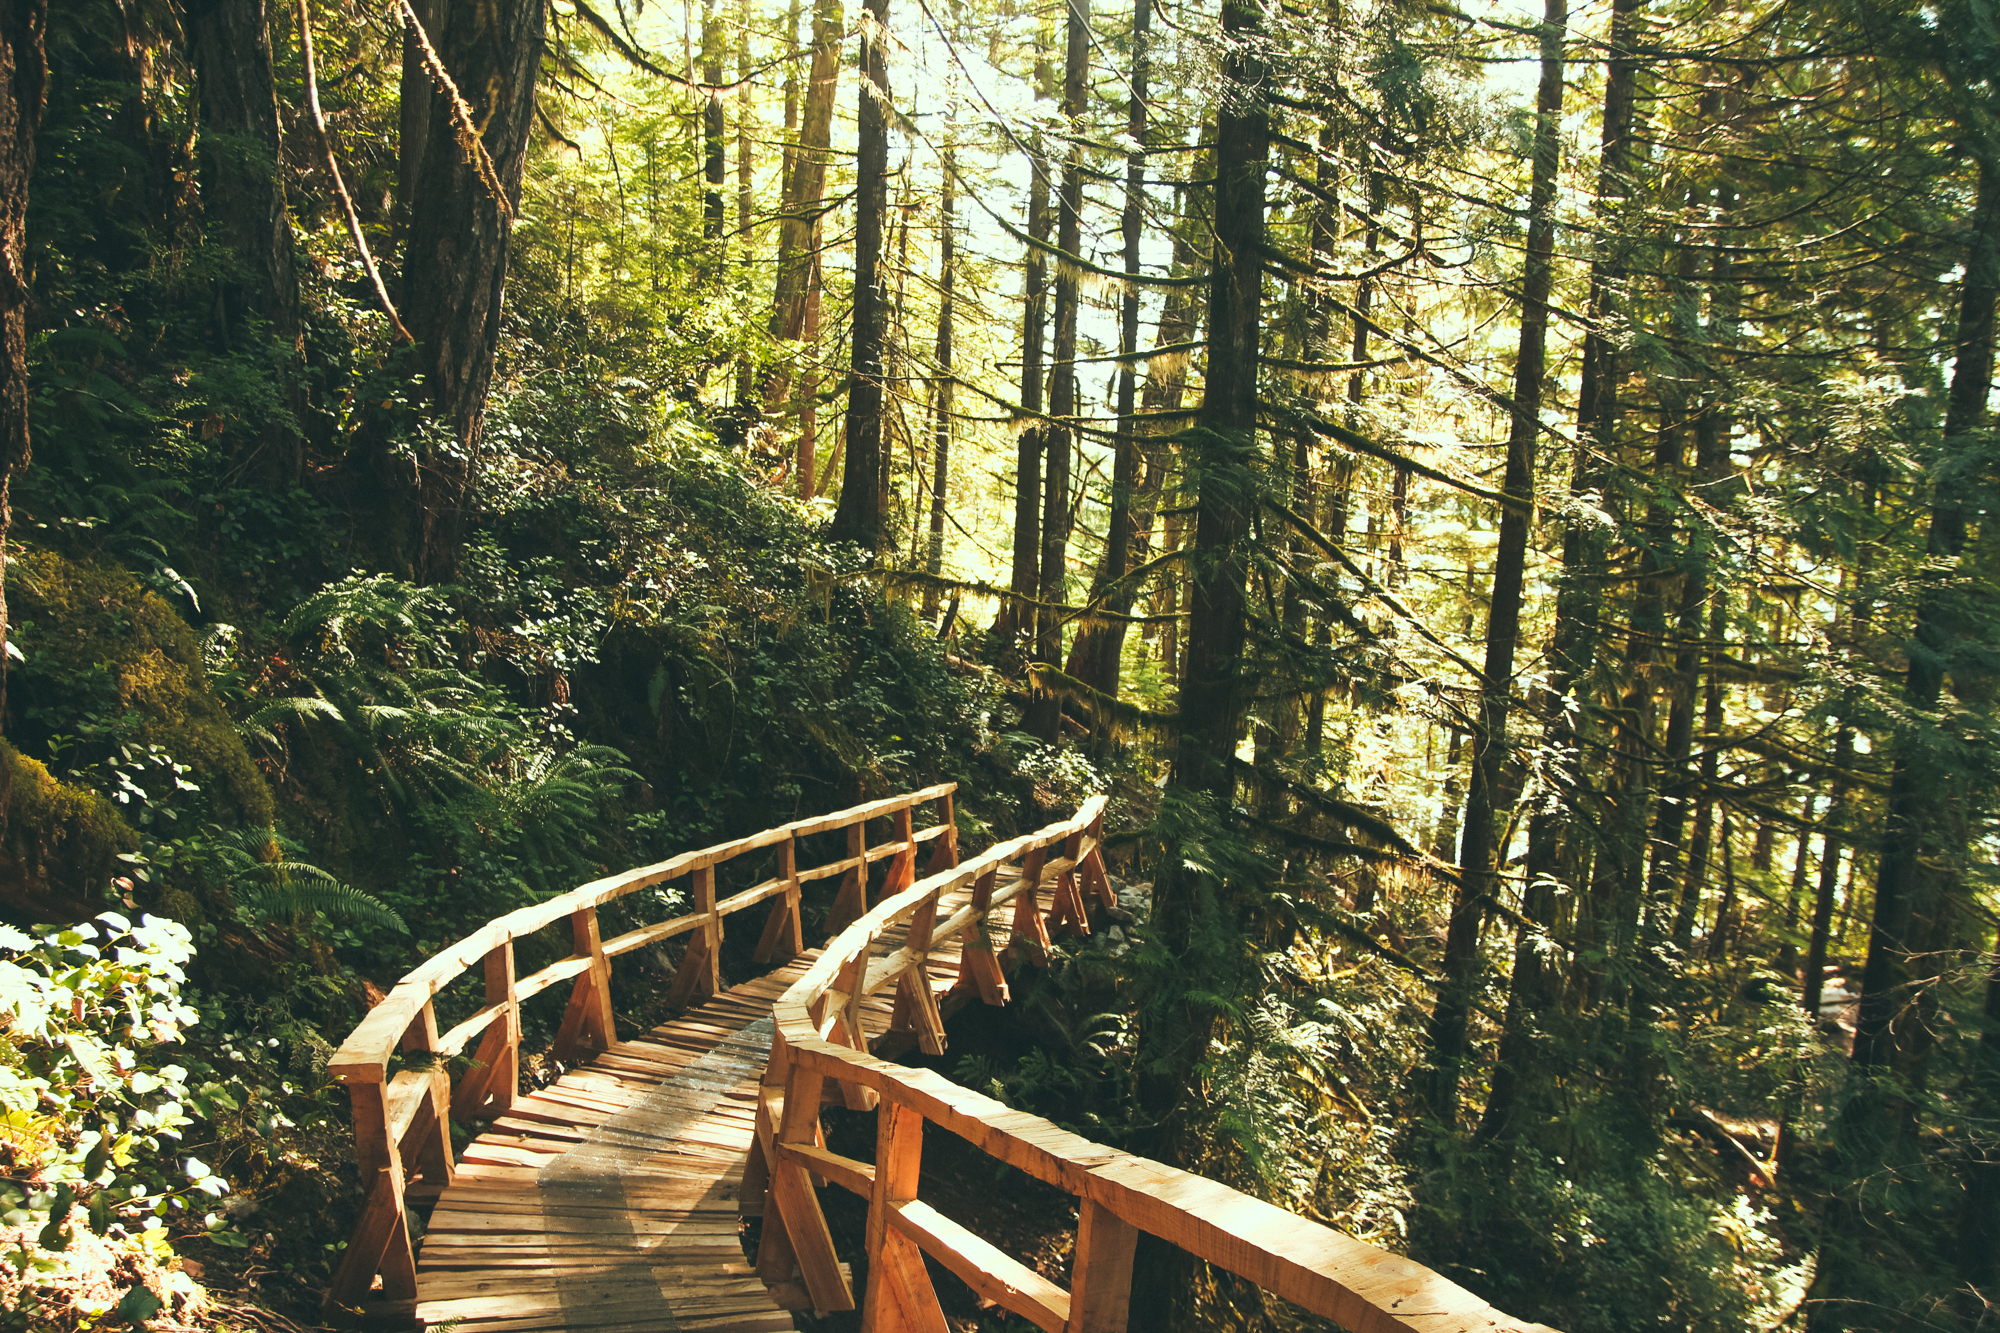
I spent most of my first months shooting running around the rocks with my modified Flycam Nano, exploring through the forests and waiting patiently as my next timelapse was captured. In one tidal wave of passion, I was hooked on nature timelapsing. I continued to shoot different landscapes across the next year and a half, and eventually came to the process of actually editing these things all together into a film that I could share with others.
How do i get better?
In order to grow your timelapsing skills you need to put in the hours. I still see so often that people are wanting their skills to improve at an impractical rate. With this project I spent hundreds of hours running around in the forest with my camera trying to get good glidcam shots. I took over 100,000 stills worth of timelapses learning on how to take them better. I spent countless hours researching how to properly edit timelapses and put together a film. If there are skills you want to improve you are going to have to start deliberately practicing them like you actually mean it.
There was quite the learning curve to figure out how to get these sequences of pictures to look exactly the way I wanted them too. My first cut of the film was actually over 10 minutes! I had to learn to cut things back as much as I could so that I was communicating more with less.

My biggest take away
[mks_pullquote align="right" width="200" size="15" bg_color="#359848" txt_color="#ffffff"]The motivation behind your films is so important.[/mks_pullquote] My biggest take away from this entire project comes back to story. Story story story. The motivation behind your films is so important. I really wish I had put some effort forward in crafting a narrative that could have taken this film to a whole other level. As it stands it really is just an extensive show real, a nice slide show of sorts, but with a powerful story it really could have had a lot more impact.
BEAUTIFUL BRITISH COLUMBIA
What questions do you have from the making of this project?
Send me an email through my contact form, I would love to hear from you.
Get My New Free Guide!

You won't want to miss it, it is a packed full guide of my favourite computer tools, apps and plugins. Join the Leftcoast Collective and I will send it straight to you. I will also send free great content directly to you every Thursday, big things are coming that you don't want to miss. [yks-mailchimp-list id="e34efe9754" submit_text="SEND ME THE FREE EBOOK!"]