How I Light Interviews in the Mountains // Flexlight Overview

How I Light Interviews in the Mountains // Flexlight Overview

Bringing gear for shooting interviews into the mountains is quite the task. I wasn't even planning on taking lights while shooting the slacklife series because all of the extra weight. That is until I found out about the flex light kit from westcott. This kit has made me fall in love with lighting interviews in the outdoors. I simply didn't consider bringing lights with me until this kit came along. 

On the series I used this gear as my lighting kit:

Flex 2-Light X-Bracket Kit - https://www.fjwestcott.com/flex-2-lig...
Flex Battery - https://www.fjwestcott.com/flex-porta...
 

You can check out the trailer for the series we shot here, the first episode will be coming out in March! So stoked.

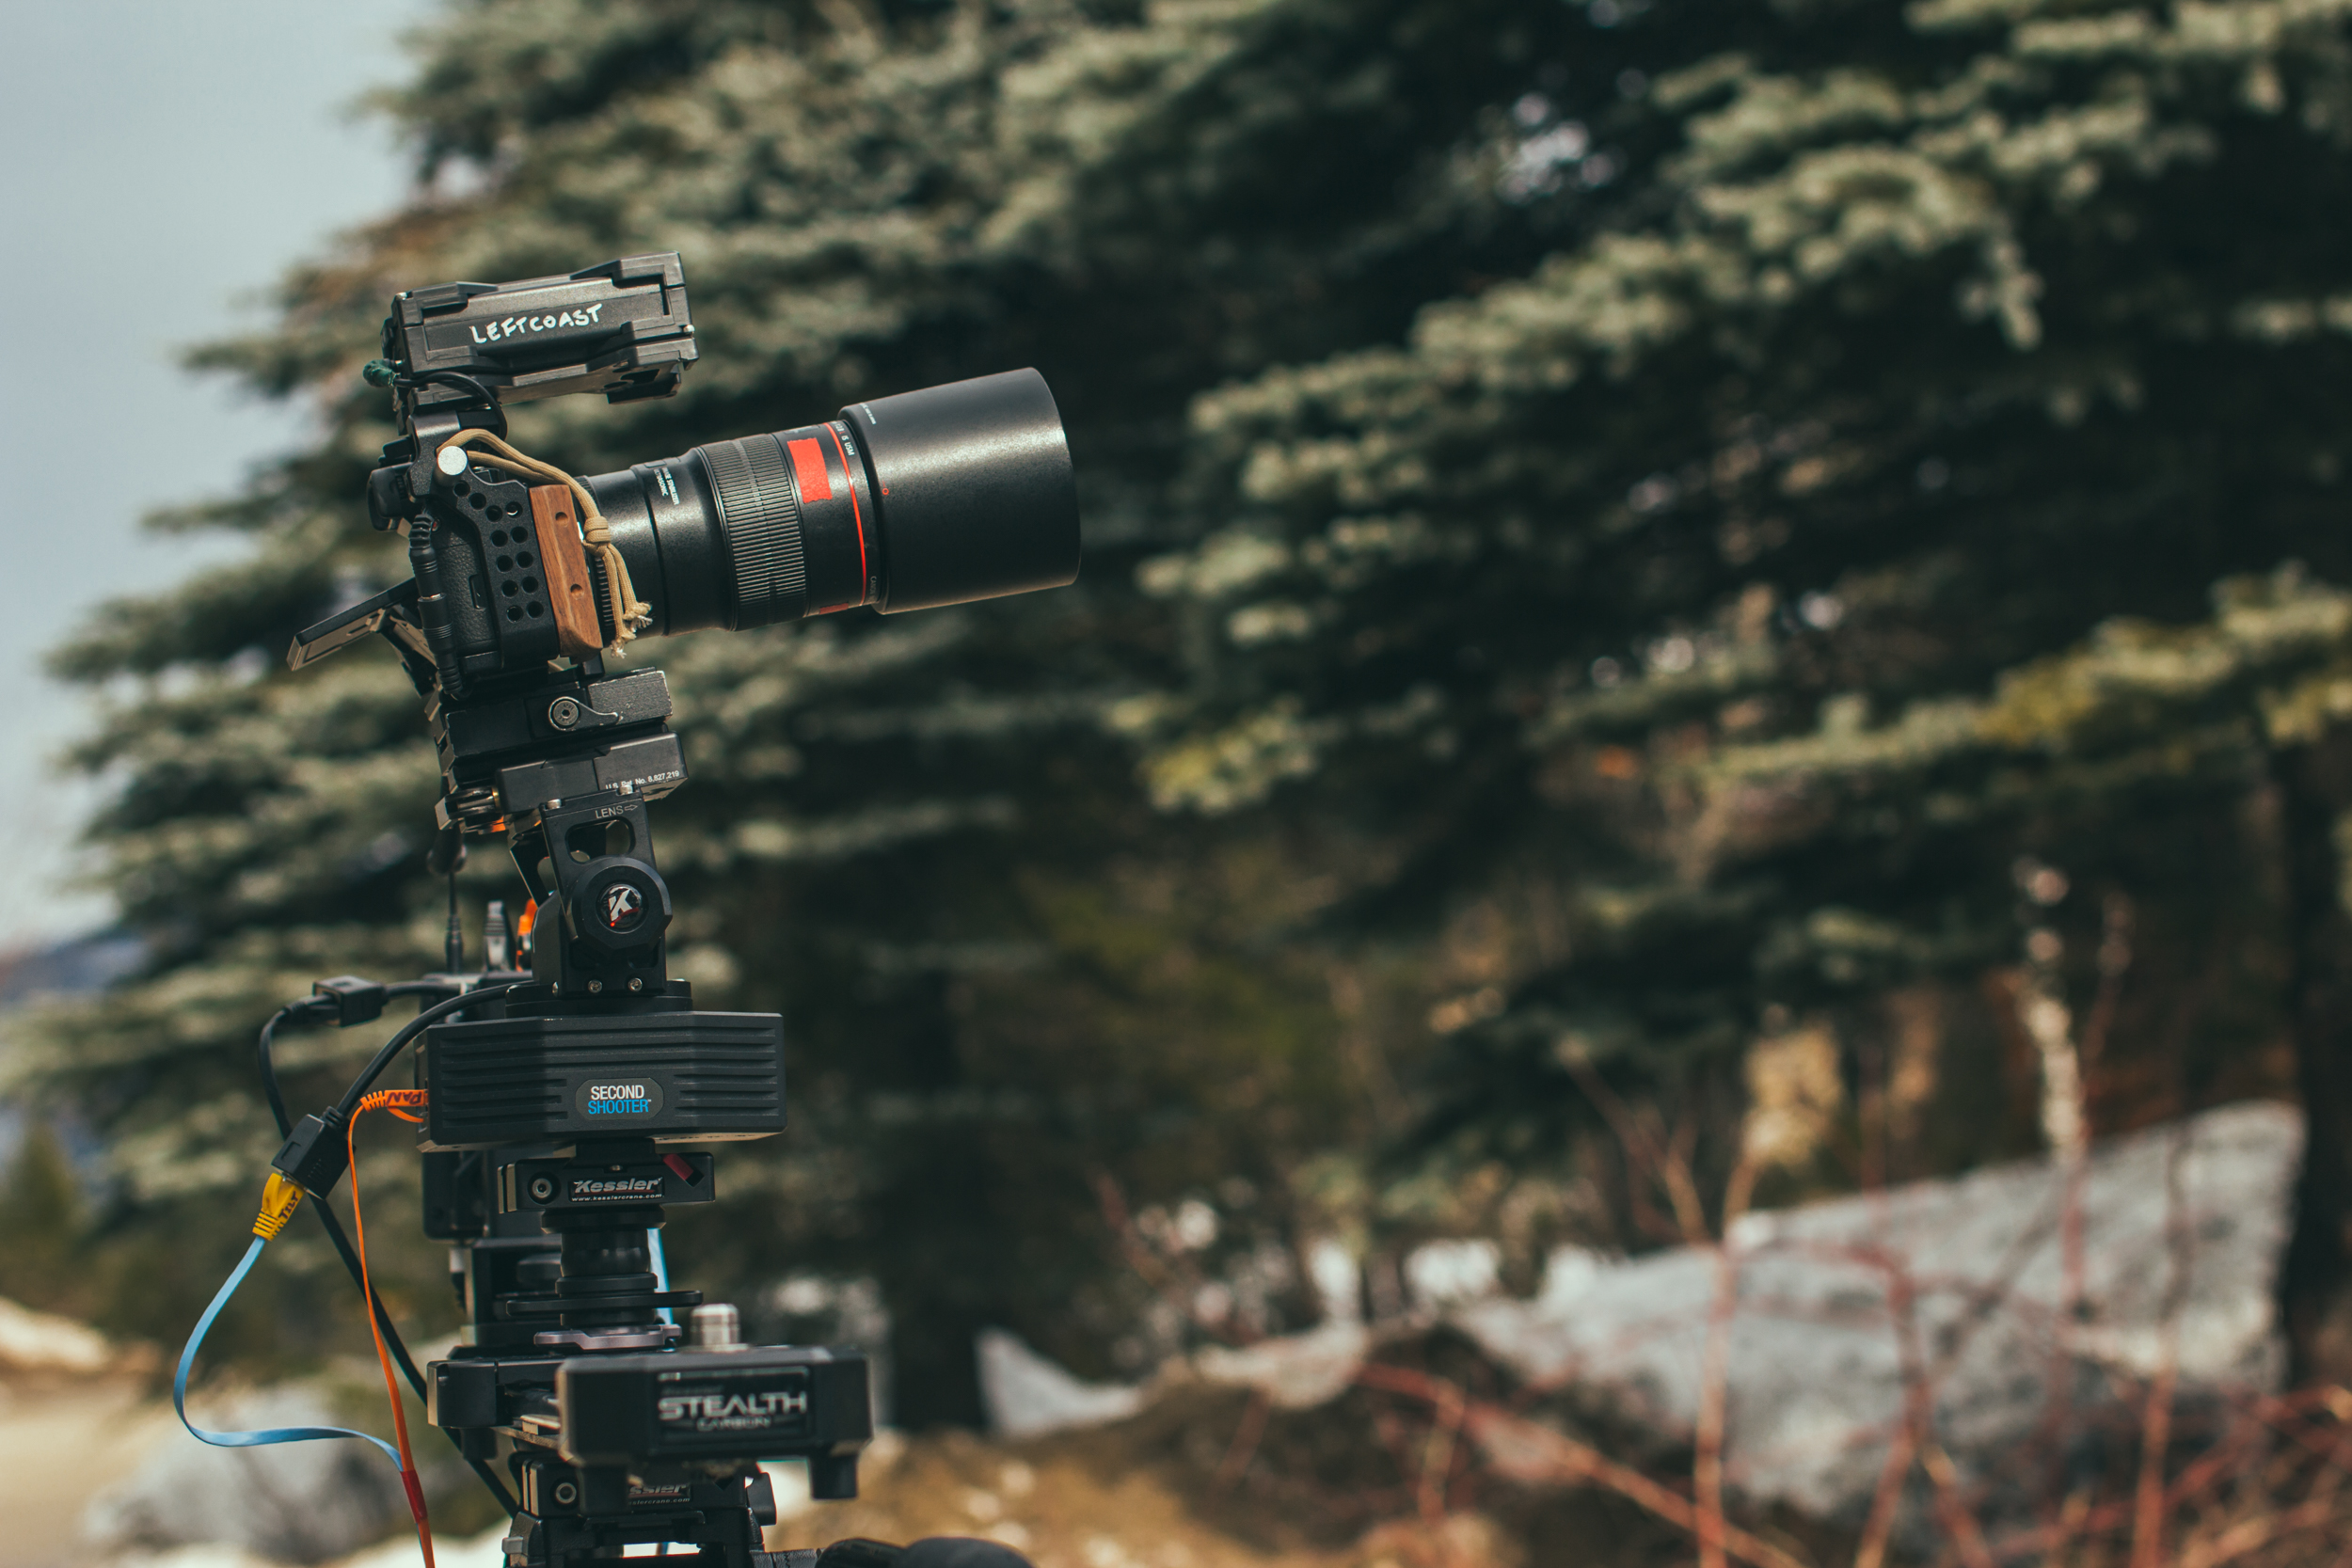
Pictured above is my ideal interview setup. I'm using the RODE filmmaker kit for my LAV audio, and the NTG3  over head for the best interview sound I can get. To the left I have the flexlight 1x1 set up as my key light, softening the light through a generic softbox I got on amazon. The Panasonic G7 is mounted on top the Kessler second shooter for some smooth interview pans. 

And this is what it looks like with all the pieces in play. I'm monitoring audio, camera, and knocking out a fantastic interview. That's how you gotta roll as a solo filmmaker, and I honestly wouldn't have bothered taking lights at all if it wasn't for the extremely portable flexlight kit. 

Pictured above I am adjusting the output of my keylight. Having a dimmer you can hold near your camera is extrememely handy for dialying in the lights just perfect. 

If you have any questions about this setup be sure to let me know. Make sure to subscribe to the Leftcoast TV newsletter so you don't miss any new videos!


CHECK OUT ANOTHER RAD TUTORIAL!


LEARN FILMMAKING

This is the fastest way to get the latest adventure filmmaking education from Levi Allen!


Unsubscribe at any time

A Year with the Kessler Crane Second Shooter

Disclaimer: Right off the top, I need to let you know the Second Shooter I was using this past year was on loan. I purchased my first real slider (you know the kind I didn't make out of PVC pipe and skateboard wheels) from Kessler Crane in 2012, and since then i've been a proud customer.  Kessler lent me a Second Shooter to use while shooting Untethered. The opinions of this article and the video are my own, I have not received any payment from Kessler. 

This past year I've been testing out a new addition to my camera support kit. I finally got into the motion control game and have been extensively using the Kessler Crane Second Shooter along with my already owned Kessler sliders. I wanted to share my experience of putting this gear to test throughout  this past year and why I've come to love this piece of MOCO gear. 


An intro to Motion Control

The Second Shooter is essentially an addition of motors and a tiny computer to a Kessler slider. This system allows you to set keyframes for different positions on the slider, and then move the camera between your set positions automatically. You can use this for Timelapses moves over long durations of time, or you can use if for live motion setups with the looping feature. 

 
My favourite traveling timelapse set up. A 2 Foot carbon stealth paired with the slider motor. 

My favourite traveling timelapse set up. A 2 Foot carbon stealth paired with the slider motor. 

My Favorite Features

Modularity

The biggest feature I love about the Second Shooter is the modularity. The options for different configurations are endless, and yet you are never committed to one exact setup. Sometimes I would use the pan and tilt head, other times I would just use the slider motor.  You can use it dozens of combinations with all of Kessler's sliders. I often take a 2-Foot carbon stealth with me into the mountains and use a larger Cineslider when back at the studio or shooting time lapses where I want longer camera moves. 


Straightforward timelapse setups

Using the keyframes and the controller to trigger your camera, adding motion to timelapses is a really straightforward process. I've used several systems previous to this that were extremely complex. The Second Shooter makes figuring out intervals and durations really easy. It has handy built in duration calculators and each parameter is flexible making it really easy to add additional frames, or extend the interval. It also has awesome shoot–move–shoot functions which allows you to capture long exposures and not have the camera move. 


Rock Solid Interview Looping

The looping feature of the Second Shooter is definitely the most frequently used when I am shooting.

It's amazing how much a controlled parallax slide can add to a very generic interview set up. With the pan and tilt head you can track your subject across an entire slide. This feature alone merits an investment into motion control. The ability to do complex timelapse moves is all just a bonus in my opinion. 


BUILD QUALITY

The build quality is another feature that I’ve really come to appreciate. I am super tough on my gear, I take it with me everywhere and I am using it constantly. Throughout this past year, my equipment has help up brilliantly and shows no signs of slowing down anytime soon. 

Using THE Manfrotto Magic Arm

A helpful tool to use alongside the Second Shooter is the Manfrotto magic arm. Using this arm I was able to place the camera off axis from the slider. If that's looking down over my subject or doing timelapse moves low to the ground. 

I feel like I am just scratching the surface of what I can do when using an arm in combination with the slider.  
 
IMG_5063.jpg
 

Supporting a Single Tripod

It is also helpful when shooting on tripod setups and you want to help support the other end of the slider to prevent weight sag. 


Shooting Untethered

When shooting Untethered I used the timelapse function of the second shooter to help capture these gorgeous transition moments. These time lapses were key to the edit and the way the storyline came to gather. The added movement helps give a sense of time passing and I used these shots to help separate the different scenes of the film. 


The Second Shooter is Dead Easy to Learn

Lastly, I have to say the Second Shooter is incredibly intuitive to use. I tend to avoid instruction manuals, and on my first day using the second shooter I had it up and going, getting fantastic shots, in under 15 minutes. I have definitely had experiences in the past with motion control equipment that needed a book to learn. I can teach someone else how to use it in under five minutes, this is huge for getting additional hands up to speed. 

What did I find challenging when using the second shooter?

  1. Cable management
    • This is less a fault of the second shooter, and more a reality of motion control setups that are modular.    I don't like needing to remember more cables or have other cables to look after. That is just one of the pains that goes along with these kinds of setups. There newly released TLS seems to offer better cable management as the controller and battery travels on the same sled the camera is one. 
  2. No way to set limits on the controller for slider length
    • The most common error I make when setting my keyframes is sliding the camera to far to the right or the left. I usually make this error because I am trying to set it up fast, or I am doing two tasks at once. When you hit the end of the slider track, the motor can sense there is something wrong and resets the controller. This is frustrating at times because you then loose the keyframes you just set and need to start over. 
    • I don't know if there is a solution to this, but it comes as a byproduct of the controller and motors being able to work with various different slider lengths. I wish there was a way to tell the controller which slider length you were using, and where the start and stop points are, and then have the computer remember it for all future keyframes you set. 

Would I Choose the Second Shooter again for My Next Big Project?

I like to use the best gear that is available for me to use. If there is a better option of any piece of gear that exists, I am often looking for it and trying to use that instead. As a principle I have a hard time settling for equipment that is "almost good enough" to do the job. 

So when I ask myself, "Would I chose to use this piece of gear again on my next big project?"

The answer is, yes. And in closing I can boil it down to two reasons for myself. 

  1. LOOPING FEATURE: This system offers the most reliable interview looping feature I have been able to test out. 
    • It can be packed down into a bag I can travel with
    • It is quick to set up
    • It is reliable and does the job exactly how I would want it to
  2. FLEXIBLE TIMELAPSE SETUPS: The second shooter can adapt to all of the slider products available from Kessler. I am never locked in to a certain setup, or by a slider length or style. If I want bigger I can go bigger. If I want to go timelapse only I can go timelapse only. 

I’ve really come to love and rely on my second shooter. From shooting on set to life int he mountains It really is a trusted  member of the Leftcoast team. 

I’m thankful knowing my investment in the Kessler Eco-System is going to bring value to my series for years to come. I want those to actually be tools that are going to last me and not be outdated.  


I want to say a huge thanks to Kessler for letting me test their gear while shooting my film, and creating tools that empower me as a filmmaker. 


Which Video Mic Should You Buy For Indie Documentaries?

208_audioTutorial_pictures.jpg

Getting good audio can be scary to say the least. For most of us it’s an area that’s hard to wrap our heads around, and unfortunately it often gets just scraps of our attention. If you are an indie filmmaker like me, I challenge you to  start taking responsibility for making sure our films have better sound. In the documentary space it can be tempting to get lazy, but I assure it’s such an important aspect to what makes a film feel immersive. Shooting Untethered I had a really simple audio kit. Using some basic principles though I was able to capture great on location sound while keeping things in my budget. I had to be flexible and light as there was no dedicated audio person for the shoot.

Watch This Video Where I Talk About My Ideal Sub 400$ Audio Kit


My Indie Documentary Audio Kit


Rode VideoMic - Find Prices Here

The Rode Videomic basically lived on both cameras the entire time while shooting. I got fantastic audio from this mic and I am really happy with the results when paired with the GH4 and auto levels. I didn't have clipped audio once, and I am satisfied with the minimal amount of hiss I hear in the audio.

I like this version over the videomic pro because of the lower price point, longer barrel (better for side noise cancelling) and I also purchased this right before the new videomic pro was released with the better shock mount. This shock mount is the best in the game, love it. No fiddling with stupid rubber bands.

Zoom H1 with Gian Squid Audio Lav

Zoom H1 With GianT Squid Omni Directional Lav - Find Prices Here

This package right here as been a work horse for me. Most wireless systems cost a lot, and frankly can be kind of finicky at times. I really like having a system I know just works. I also love that it needs only one AA battery and your good to go for hours. I used this setup constantly on Untethered in order to get great sound of the athletes when they were walking on the line.

Zoom H1 Audio Shock Mount

Zoom H1 with Shock Mount - Find Prices Here

Another way to use the H1 is as it was mainly meant to be used. As a stereo capture device. I love mounting this to the top of my camera with a shock mount and running the feed straight into camera. As you can hear in my video examples great stereo audio is super immersive. This setup is cheap, simple, and gets amazing results. Make sure to buy a H1 windscreen!

Two Tools To Step Up Your Audio Game

For the sit down interviews I shot with spencer I used a more elaborate boom mic set up. I was lucky enough to borrow the fantastic Rode NTG3 which is a crazy awesome shotgun mic. I ran it into a DR60D (pictured above is my new DR70D which I like a lot better for form factor). This setup is incredible and I definitely recommend renting or investing in a good set up like this down the road. You can get some amazing interview audio with this mic!

The First Tool You Should Buy For Camera Support

Today we are going to look at the best piece of camera support equipment on the market for adventure filmmakers. Or any filmmakers for that matter. 

DSC05992.jpg

As indie filmmakers we should always be looking for gear investments that have the highest possible ratio of cost vs. results. With that in mind, the tool I am recommending is not a 3 axis gimbal, it’s not a drone, it’s actually just a plain old tried-and-true monopod. You’ve probably seen one of these before, and maybe you’ve thought, hey that works for that wedding guy, but I prefer my tools a little more high tech or pro looking. Don’t think of yourself as too good for the monopod. I am going to show you why this tool can help move the needle the most on achieving cinematic results for the lowest upfront investment.

DSC05996.jpg

I think this tool will be the fastest tool to help you develop your cinematic eye.

A monopod allows you to be more mobile and flexible than almost any other tool. It is the fastest way to cover many different perspectives of a scenario and then decide which ones you like the most. I’ve seen people who started out by purchasing a tripod and a slider. Then they mount their slider to the tripod and try to shoot from that the entire time. In the edit room they are trying to decide what to do with all these shots that just slide left to right from the same perspective. That’s because in a way the visual aspects of filmmaking is like good writing. You need to use varied words and expressions in order to create a pleasant cinematic experience. You can’t add an exclamation point on the end of every sentence and call it engaging writing. The same goes with filmmaking. Camera movements should be used intentionally, and a monopod helps you learn the foundations of these principles.

DSC06001.jpg

The Best Monopod Out There

Simply without question Sirui is making the best monopods on the market. The model I recommend is the Carbon Four Section Monopod from Sirui. If you would like to save some money you can go with the the Aluminum Four Section Version. I really do recommend the weight savings of the CX version though.


You are also going to need a fluid head of some kind

I like the heads from Manfrotto, but literally any brand of fluid head will do the trick.

DSC06005.jpg